

EXPERT ADVANCE HERE FOR YOU!

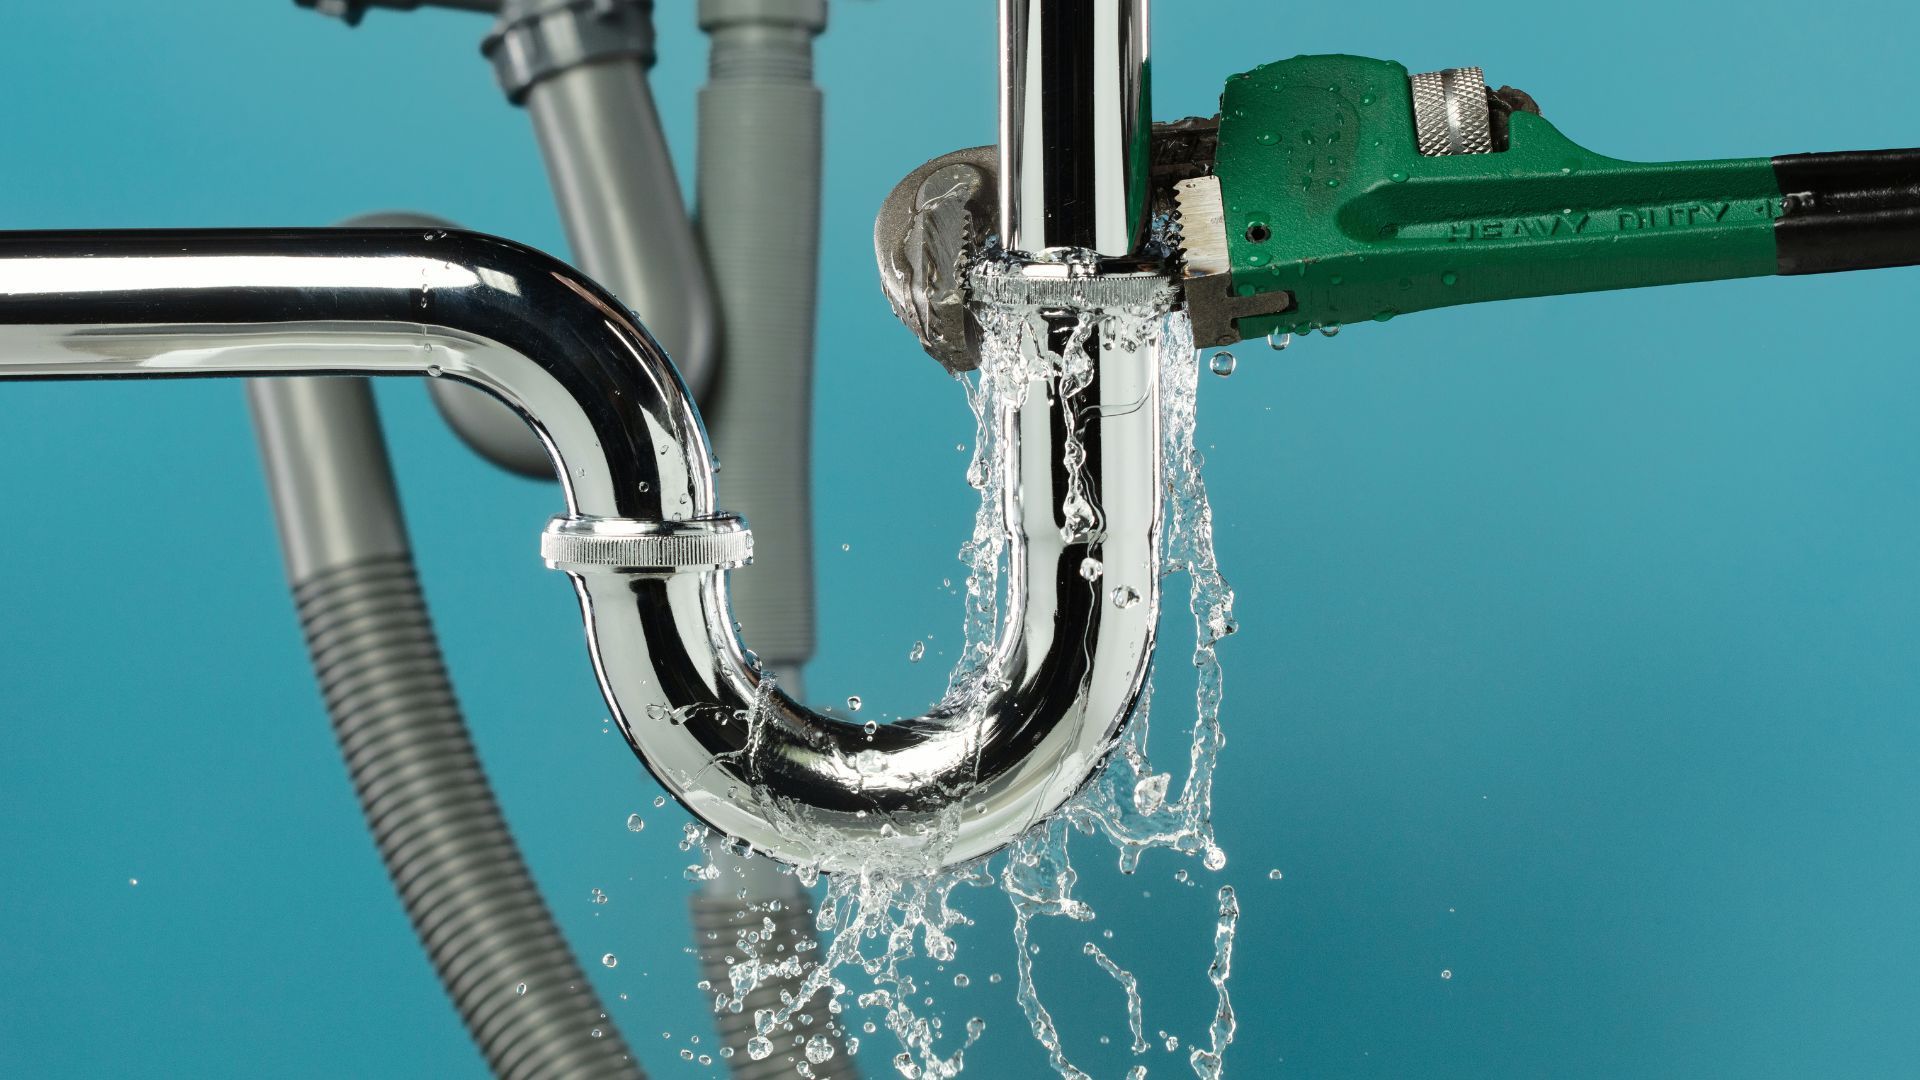
Few household problems are more frustrating than hearing your toilet run endlessly… especially when your water bill starts climbing. And when a quick adjustment doesn’t solve the problem, many homeowners ask the same question: Who is the best plumber in Hamilton? The answer isn’t always about who appears first online—it’s about finding a plumber who responds quickly, diagnoses the issue properly, and fixes it right the first time. If your toilet won’t stop running or you’re searching for a reliable local plumbing company, here’s what you should know. According to A Rescue Rooter , running toilets and fixture issues are among the most common service calls because they can quietly waste large amounts of water and increase utility costs over time.
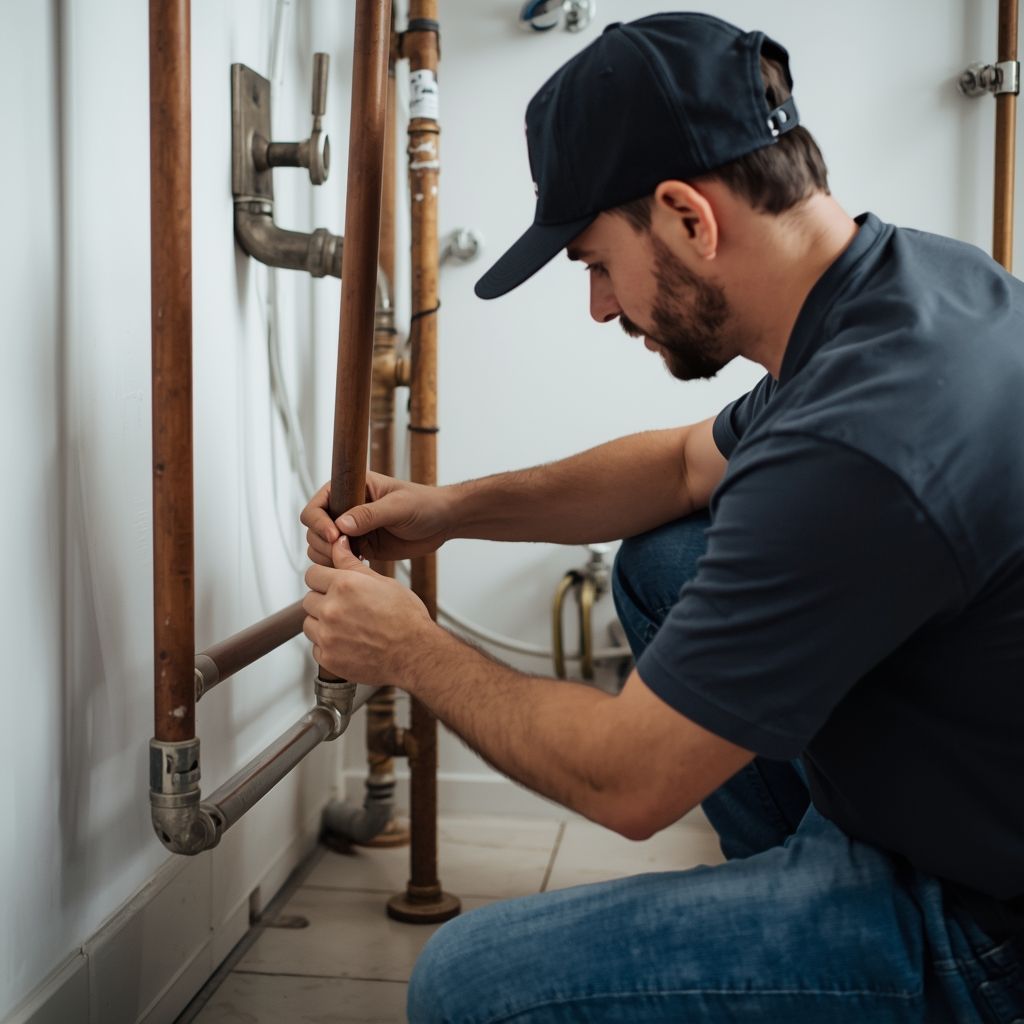
When a pipe bursts or a drain backs up, most people panic and call the first name they find online. But choosing the wrong plumber can cost you far more than the original problem. If you’re searching for reliable Hamilton plumbers , knowing what to look for can save you time, money, and serious stress. Here’s how to confidently choose a reputable plumber and make sure they’re properly licensed.
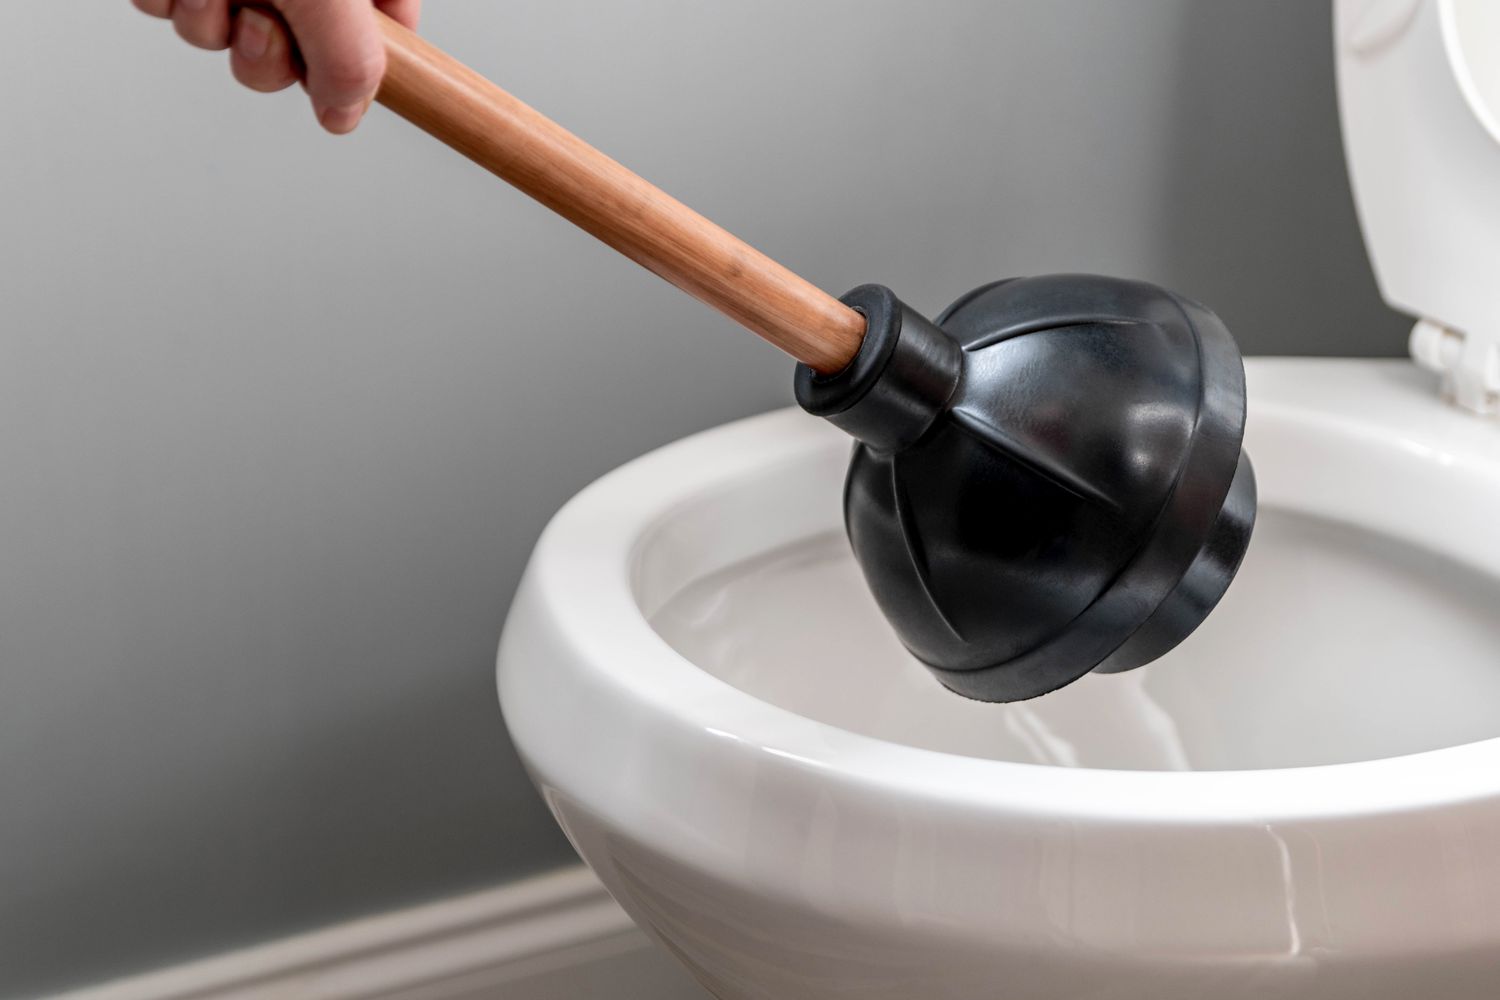
When a drain backs up, panic often sets in—but before you reach for harsh chemicals or call it a lost cause, a simple plunger can often do the trick. Knowing how to use the right type of plunger—and how to use it correctly—can save you time, money, and stress. In this guide, we’ll walk you through how to use both toilet and sink plungers effectively, and when it’s time to call in the professionals at A Rescue Rooter in Southern Ontario.
As the snow melts and the first green shoots of spring appear, it feels natural to breathe a sigh of relief. The harsh winter is finally behind us, and warmer days are ahead. However, while you are ready to welcome the sunshine, your home’s plumbing system might be facing its most difficult challenge of the year. The transition from freezing winter temperatures to the damp warmth of spring creates specific environmental changes that can stress your pipes. Understanding what happens beneath the ground during the "spring thaw" is the first step in protecting your home from unexpected leaks and water damage. By staying vigilant and knowing what to look for, you can ensure your plumbing transitions into the new season as smoothly as you do. How the Spring Thaw Affects Your Plumbing It is easy to assume that the danger to your pipes passes once the sub-zero temperatures vanish. In reality, the thawing process can be just as damaging as the freezing process. When the ground freezes, it expands. As it thaws, the soil contracts and shifts. This movement can put immense pressure on your home's water and sewer lines buried underground. If the earth shifts too dramatically, it can cause pipes to crack, bend, or even detach completely. Additionally, the spring thaw brings water—lots of it. Melting snow saturates the soil, raising the water table. This excess water puts hydrostatic pressure on your foundation and pipes, potentially leading to basement flooding if your drainage systems aren't working perfectly. Common Signs of Pipe Damage Because much of your plumbing is hidden behind walls or buried underground, you might not notice an issue until it becomes a significant problem. Keep a close eye on your property this season for these tell-tale signs of distress: 1. Soggy patches in the yard If it hasn't rained recently, but you notice distinct wet, spongy, or unusually green patches of grass in your yard, this could indicate a leak in your underground water line. The escaping water rises to the surface, creating a localized swamp. 2. Low water pressure A sudden drop in water pressure throughout the house is often a symptom of a breach in the main line. If the water isn't reaching your faucets with the usual force, it may be escaping somewhere else along the route. 3. Unpleasant odors If your sewer line has been compromised by shifting soil or infiltrating tree roots (which become active in spring), you may smell sewage inside your home or out in the yard. This is an urgent issue that requires immediate attention. 4. Unexpectedly high water bills Sometimes the signs are financial rather than physical. If your water usage hasn't changed but your bill has spiked, water is likely leaking from a pipe somewhere on your property. Preventive Measures for Homeowners While you cannot control the weather or the shifting soil, there are several steps you can take to minimize the risk of damage during the spring thaw. Test your sump pump: This is your first line of defense against meltwater. Pour a bucket of water into the sump pit to ensure the pump activates and drains the water effectively. If it doesn't, you need to repair or replace it before the heavy spring rains arrive. Clear your gutters and downspouts: Ensure that melting snow and spring rain can flow freely away from your home’s foundation. Clogged gutters can cause water to pool around the base of your house, increasing pressure on basement pipes and the foundation. Check outdoor faucets: Once the threat of frost is truly gone, turn on your outdoor spigots to check for flow. If you place your thumb over the opening and can stop the flow of water, the pressure is too low, indicating a potential leak inside the pipe. When to Call the Professionals Plumbing issues can be stressful, and it is often difficult to know if a problem is a simple DIY fix or a professional emergency. We understand that your home is your sanctuary, and dealing with water damage is disruptive and upsetting. If you notice persistent low pressure, damp spots on your drywall, or standing water in your yard, it is time to call for help. Attempting to dig up underground pipes or fix complex sewer lines on your own can often lead to further damage and higher costs. At Rescue Rooter, we have the specialized equipment to inspect underground lines without destroying your yard. Our team can identify cracks caused by the spring thaw and provide efficient, lasting solutions. We are here to help restore your peace of mind so you can get back to enjoying the warmer weather. Enjoying a Worry-Free Spring Spring should be a time of renewal and enjoyment, not a time spent worrying about wet basements or broken pipes. By keeping an eye out for the signs of shifting soil and testing your drainage systems early, you can catch small issues before they become major headaches. And remember, if the thaw does bring unexpected plumbing challenges, you don't have to face them alone—Rescue Rooter is just a phone call away.
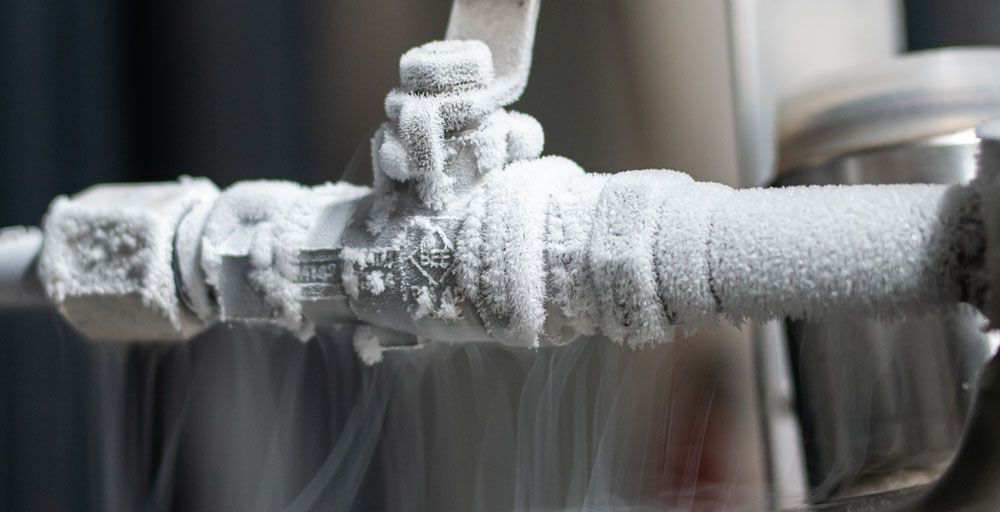
Winter brings cozy nights and festive cheer, but it also carries the risk of a messy and expensive household problem: frozen pipes. When water freezes, it expands, putting immense pressure on your plumbing. This can lead to burst pipes, significant water damage, and costly repairs. Understanding how to protect your home before a cold snap and what to do if a pipe freezes is essential for every homeowner. Proactive Steps to Prevent Frozen Pipes The best way to deal with a frozen pipe is to prevent it from ever happening. A little preparation before temperatures plummet can save you a lot of stress and money. Focus on areas of your home where pipes are most vulnerable, such as basements, crawl spaces, attics, garages, and exterior walls. Insulate Vulnerable Pipes Insulation is your first line of defense. It slows the transfer of heat, keeping the water inside your pipes from reaching freezing temperatures. Pipe Sleeves: You can find foam or fiberglass pipe sleeves at any hardware store. They are inexpensive and easy to install. Simply cut them to size and wrap them around exposed pipes. Secure them with tape for a snug fit. Heat Tape: For pipes in extremely cold areas, consider using electrical heat tape or heat cables. These products wrap directly around the pipe and have a built-in thermostat that turns the heat on when the temperature drops, providing consistent protection. Seal Air Leaks: Cold air infiltration is a major contributor to frozen pipes. Use caulk or insulation to seal any cracks or holes in your foundation, walls, and around windows, especially where pipes enter your home from the outside. Keep the Water Moving Even a small trickle of water can be enough to prevent a pipe from freezing solid. When an arctic blast is in the forecast, take these simple steps. Let Faucets Drip: Open the faucets connected to vulnerable pipes just enough to let a slow, steady drip of both hot and cold water flow. This moving water is much harder to freeze. Open Cabinet Doors: Pipes under kitchen and bathroom sinks are often located in unheated cabinets against exterior walls. By leaving the cabinet doors open, you allow warmer air from your home to circulate around the plumbing, keeping them warmer. Maintain a Consistent Temperature Your home's overall temperature plays a crucial role in protecting your plumbing system. Set Your Thermostat: Keep your thermostat set to a consistent temperature both day and night. While you might be tempted to lower it at night to save on heating bills, the extra cost is minimal compared to the expense of a burst pipe repair. Winterizing Your Home: If you plan to be away for an extended period during the winter, never turn your heat completely off. Set the thermostat to at least 55°F (13°C) and consider asking a friend or neighbor to check on your house periodically. What to Do If Your Pipes Freeze Sometimes, despite your best efforts, a pipe may freeze. The first sign is usually a trickle of water—or no water at all—coming from a faucet. If you suspect a frozen pipe, you need to act quickly. Step 1: Locate the Frozen Pipe Your first task is to identify the frozen section of pipe. Start by turning on all the faucets in your house. If one is not working, the frozen area is likely located between that faucet and the main water supply. Look for pipes in unheated areas or along exterior walls. A visible layer of frost or a slight bulge in the pipe can also indicate a freeze. Step 2: Thaw the Pipe Safely Once you've found the frozen section, you can begin the thawing process. The key is to apply heat gradually and safely. Open the Faucet: Before you start thawing, make sure the faucet connected to the frozen pipe is open. This allows melting water and steam to escape, relieving pressure inside the pipe. Apply Gentle Heat: Use a hairdryer on a low setting, a portable space heater (kept a safe distance away), or heating pads designed for this purpose. Start near the faucet end of the blockage and work your way back toward the frozen area. Never Use an Open Flame: Do not use a blowtorch, propane heater, or any other open-flame device to thaw a pipe. This is extremely dangerous, as it can damage the pipe and create a serious fire hazard. Step 3: Check for Leaks As the pipe thaws, water flow should be restored. Keep a close eye on the entire length of the pipe you just thawed. The expansion from the ice may have created cracks that will begin to leak as the water melts. If you spot a leak, shut off the main water supply to your home immediately to prevent water damage. When to Call a Professional While some minor freezes can be handled on your own, certain situations require expert intervention. A burst pipe is a plumbing emergency that demands immediate professional help. If you are unable to locate the frozen pipe, if the pipe is not accessible, or if your efforts to thaw it are unsuccessful, it’s time to call for help. Attempting complex repairs without the right tools or experience can lead to bigger problems. The pros at A Rescue Rooter specialize in emergency plumbing services, including frozen and burst pipe repairs. Our experienced technicians have the advanced tools needed to quickly locate and safely thaw frozen pipes, even those hidden behind walls. We can assess the situation, repair any damage, and help you implement long-term solutions to prevent future freezes. Don't let a frozen pipe turn into a disaster. A Rescue Rooter is available 24/7 to provide fast, reliable service when you need it most.
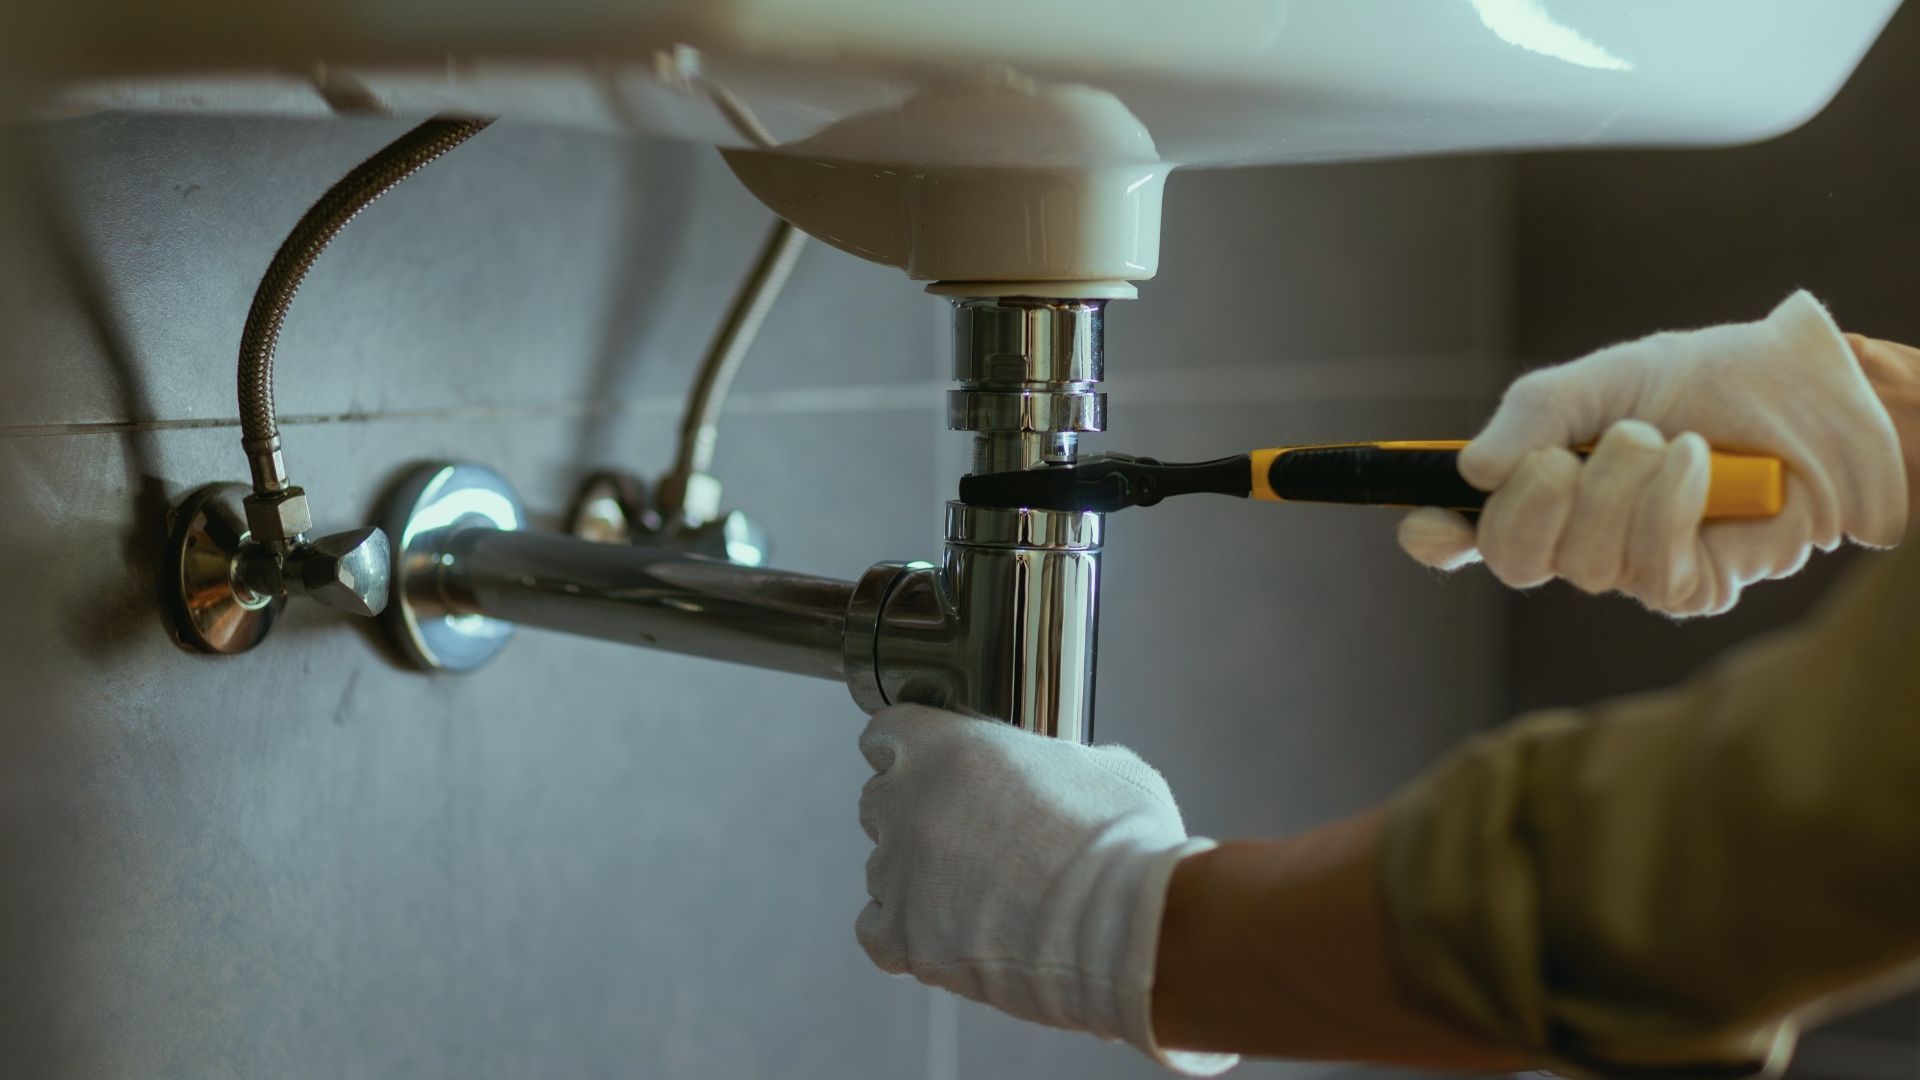
A small drip from a faucet is easy to spot, but what about the leaks you can't see? Hidden water leaks can silently cause significant damage to your home’s structure, promote mold growth, and lead to shockingly high water bills. Knowing how to spot the signs of these elusive leaks is a crucial skill for any homeowner. This guide will walk you through practical methods for detecting hidden water leaks and explain why acting fast is so important. Why You Must Address Leaks Immediately Ignoring a potential water leak is a gamble you don't want to take. Even a small, slow drip can have major consequences over time. Water can weaken wooden beams, crumble drywall, and damage your home's foundation. The persistent moisture creates a perfect environment for mold and mildew, which can pose health risks to your family. Beyond structural damage, the financial cost is twofold. First, your water bill will increase as you pay for water you aren't even using. Second, the repair costs for water damage are often far more expensive than the cost of fixing the leak itself. A simple plumbing repair can turn into a massive renovation project if left unchecked. Simple Ways to Find Hidden Leaks You don't need to be a professional plumber to start the search for a hidden leak. With a little observation and a few simple checks, you can often identify a problem before it gets out of hand. Check Your Water Meter Your water meter is one of the most reliable tools for leak detection. It measures all the water flowing into your home, so any unexpected activity can point to a leak. How to perform a meter test: 1. Turn off all water: Make sure no faucets are running, toilets aren't flushing, and appliances like the dishwasher or washing machine are off. 2. Locate your water meter: It's usually in a box near the curb or in a basement or utility area. 3. Check the leak indicator: Most modern meters have a small triangle, dial, or wheel that moves when water is flowing. If this indicator is spinning, even slowly, you likely have a leak somewhere in your system. 4. Note the reading: If your meter doesn't have a leak indicator, write down the numbers on the dial. Wait one to two hours without using any water, then check the reading again. If the numbers have changed, water is escaping somewhere. Scrutinize Your Water Bill Your monthly water bill provides a clear record of your usage. A sudden, unexplained spike is a major red flag. Compare your recent bills to previous months or the same period from last year. If your habits haven't changed but your usage has dramatically increased, it’s time to investigate. Many utility companies even provide daily or hourly usage data online, which can help you pinpoint when the excess water use is happening. Inspect Your Home's Interior Your walls, ceilings, and floors can offer visual clues of a hidden leak. Take a walk through your home and look for these signs: ● Discoloration or Stains: Yellow or brown stains on ceilings or walls are classic signs of water slowly seeping through. ● Peeling or Bubbling Paint: Moisture behind a wall will cause paint or wallpaper to peel, bubble, or blister. ● Warped Surfaces: Look for warped walls, sagging ceilings, or buckled flooring, especially around bathrooms, kitchens, and laundry rooms. ● Musty Odors: A persistent damp, earthy smell often indicates mold or mildew growth, which thrives in areas with hidden moisture. Listen for Unusual Sounds Sometimes, you can hear a leak before you can see it. During a quiet time in your home, like late at night, listen carefully for sounds coming from your walls. A dripping, hissing, or rushing sound when all faucets are off is a clear signal that water is running where it shouldn't be. Pay close attention to the areas where your main water line enters the house and around major plumbing fixtures. Don't Wait—Get Professional Help Finding a hidden leak can feel overwhelming, but you don't have to handle it alone. While these DIY tips can help you confirm a problem exists, locating the exact source and repairing it often requires professional expertise and equipment. A delayed response only makes the problem worse and more expensive to fix. At A Rescue Rooter, our experts are equipped with advanced leak detection technology to find the source of the problem quickly and accurately, without causing unnecessary damage to your home. We understand that plumbing emergencies don't stick to a 9-to-5 schedule. That’s why we are available 24/7 to help you. Best of all, you can call us anytime without worrying about extra fees. A Rescue Rooter never charges a premium for after-hours, weekend, or holiday service. When you have a leak, you need help fast. We’re here to provide it, day or night. Contact us to get your leak fixed and your home protected.
This is a subtitle for your new post

Finding a pool of murky, stagnant water at the bottom of your dishwasher after a cycle is a frustrating discovery. Not only is it unsanitary, but it also means your dishes are far from clean. The good news is that a dishwasher that won't drain is a common household problem, and you can often fix it yourself with a few simple troubleshooting steps. This guide will walk you through the most frequent causes of a clogged dishwasher and how to resolve them safely. We'll also help you identify when the issue requires a professional touch. Safety First: Turn Off the Power Before you begin any inspection or repair work, your top priority is safety. Water and electricity are a dangerous combination. To avoid any risk of electric shock, you must disconnect the dishwasher from its power source. You can do this by either unplugging the unit from the wall outlet, which is often located under the sink, or by switching off the dedicated circuit breaker for the dishwasher in your home's electrical panel. Once the power is off, you can safely proceed with your investigation. Common Causes for a Dishwasher Not Draining Most drainage issues stem from a simple blockage. By checking a few key areas, you can usually locate and clear the obstruction without needing special tools. 1. Check for a Clogged Filter Your dishwasher's filter is designed to catch food particles, debris, and other small objects to prevent them from clogging the drain system. Over time, this filter can become blocked, stopping water from draining properly. Locate the Filter: The filter is typically a cylindrical component found on the floor of the dishwasher, usually beneath the lower spray arm. You may need to remove the bottom rack to access it. Remove and Clean: Most filters can be removed by twisting them counter-clockwise. Once removed, take it to the sink and wash it thoroughly with warm, soapy water. Use a soft brush to gently scrub away any stubborn food residue. Inspect the Sump: With the filter removed, check the area underneath it (the sump) for any larger pieces of debris that might be causing a blockage. Reinstall: Once clean, securely place the filter back into its housing. Running the dishwasher without the filter can lead to more serious damage to the pump and drain lines. After cleaning the filter, run a short rinse cycle to see if the problem is resolved. 2. Inspect the Drain Hose The drain hose is a flexible, ribbed tube that carries wastewater from your dishwasher to the garbage disposal or the main drain pipe under your sink. Kinks or clogs in this hose are another frequent reason for drainage failure. Look for Kinks: Visually inspect the entire length of the hose that runs from the dishwasher to the sink's plumbing. Ensure it isn't bent, twisted, or pinched behind the appliance or under the sink. Straightening out a kink is often all it takes to fix the issue. Check for Clogs: If there are no visible kinks, the hose itself may be clogged. Place a bucket or pan under the connection point at the sink, and disconnect the hose. Allow any trapped water to drain into the bucket. Clear the Hose: Carefully inspect both ends of the hose for blockages. You can try to dislodge any clogs by gently blowing through the hose or by using a plumber's snake to clear the obstruction. Once clear, reattach it securely. 3. Clear the Garbage Disposal Many dishwashers drain directly into the garbage disposal. If the disposal is clogged with food waste, it will prevent water from the dishwasher from draining away. Run the Disposal: Before starting a dishwasher cycle, always run your garbage disposal with cold water for about 30 seconds to ensure it's clear. Check the Knockout Plug: If your dishwasher is newly installed, the installer may have forgotten to remove the knockout plug inside the disposal's dishwasher connection nipple. To check this, you'll need to disconnect the drain hose from the disposal and feel inside the nipple for a plastic plug. If it's there, carefully knock it out with a screwdriver and hammer, then retrieve the plastic piece from the disposal. 4. Examine the Air Gap Some plumbing codes require an air gap, which is a small cylinder-shaped fixture located on your countertop near the sink. Its purpose is to prevent contaminated drain water from siphoning back into your dishwasher. Like other components, it can get clogged. Remove the Cover: Pull off the metal or plastic cover of the air gap. Clean Inside: Underneath, you'll see a smaller plastic cap. Remove it and clean out any food particles or grime that have built up inside. A small brush or pipe cleaner can be very effective. Test the Drain: Once clean, reassemble the air gap and run a rinse cycle on your dishwasher. When to Call a Professional Plumber While these DIY steps can solve many drainage problems, some issues are more complex and require professional expertise. You should consider calling a plumber if: You've tried all the troubleshooting steps above and the dishwasher still won't drain. You suspect the problem lies with the dishwasher's drain pump or motor, which are more difficult and risky to repair. The issue appears to be related to your home's main plumbing lines rather than just the dishwasher. You are not comfortable performing any of the inspection or cleaning steps yourself. Attempting complex repairs without the proper knowledge can lead to further damage to your appliance or even cause water damage to your kitchen. Get Expert Help from A Rescue Rooter Don't let a clogged dishwasher disrupt your routine. If you're facing a stubborn drainage issue or prefer to leave the work to an expert, the team at A Rescue Rooter is here to help. Our professional plumbers have the tools and experience to quickly diagnose and resolve any plumbing problem, from a simple clog to a complex repair. We ensure the job is done right, so you can get back to enjoying the convenience of a fully functional dishwasher.
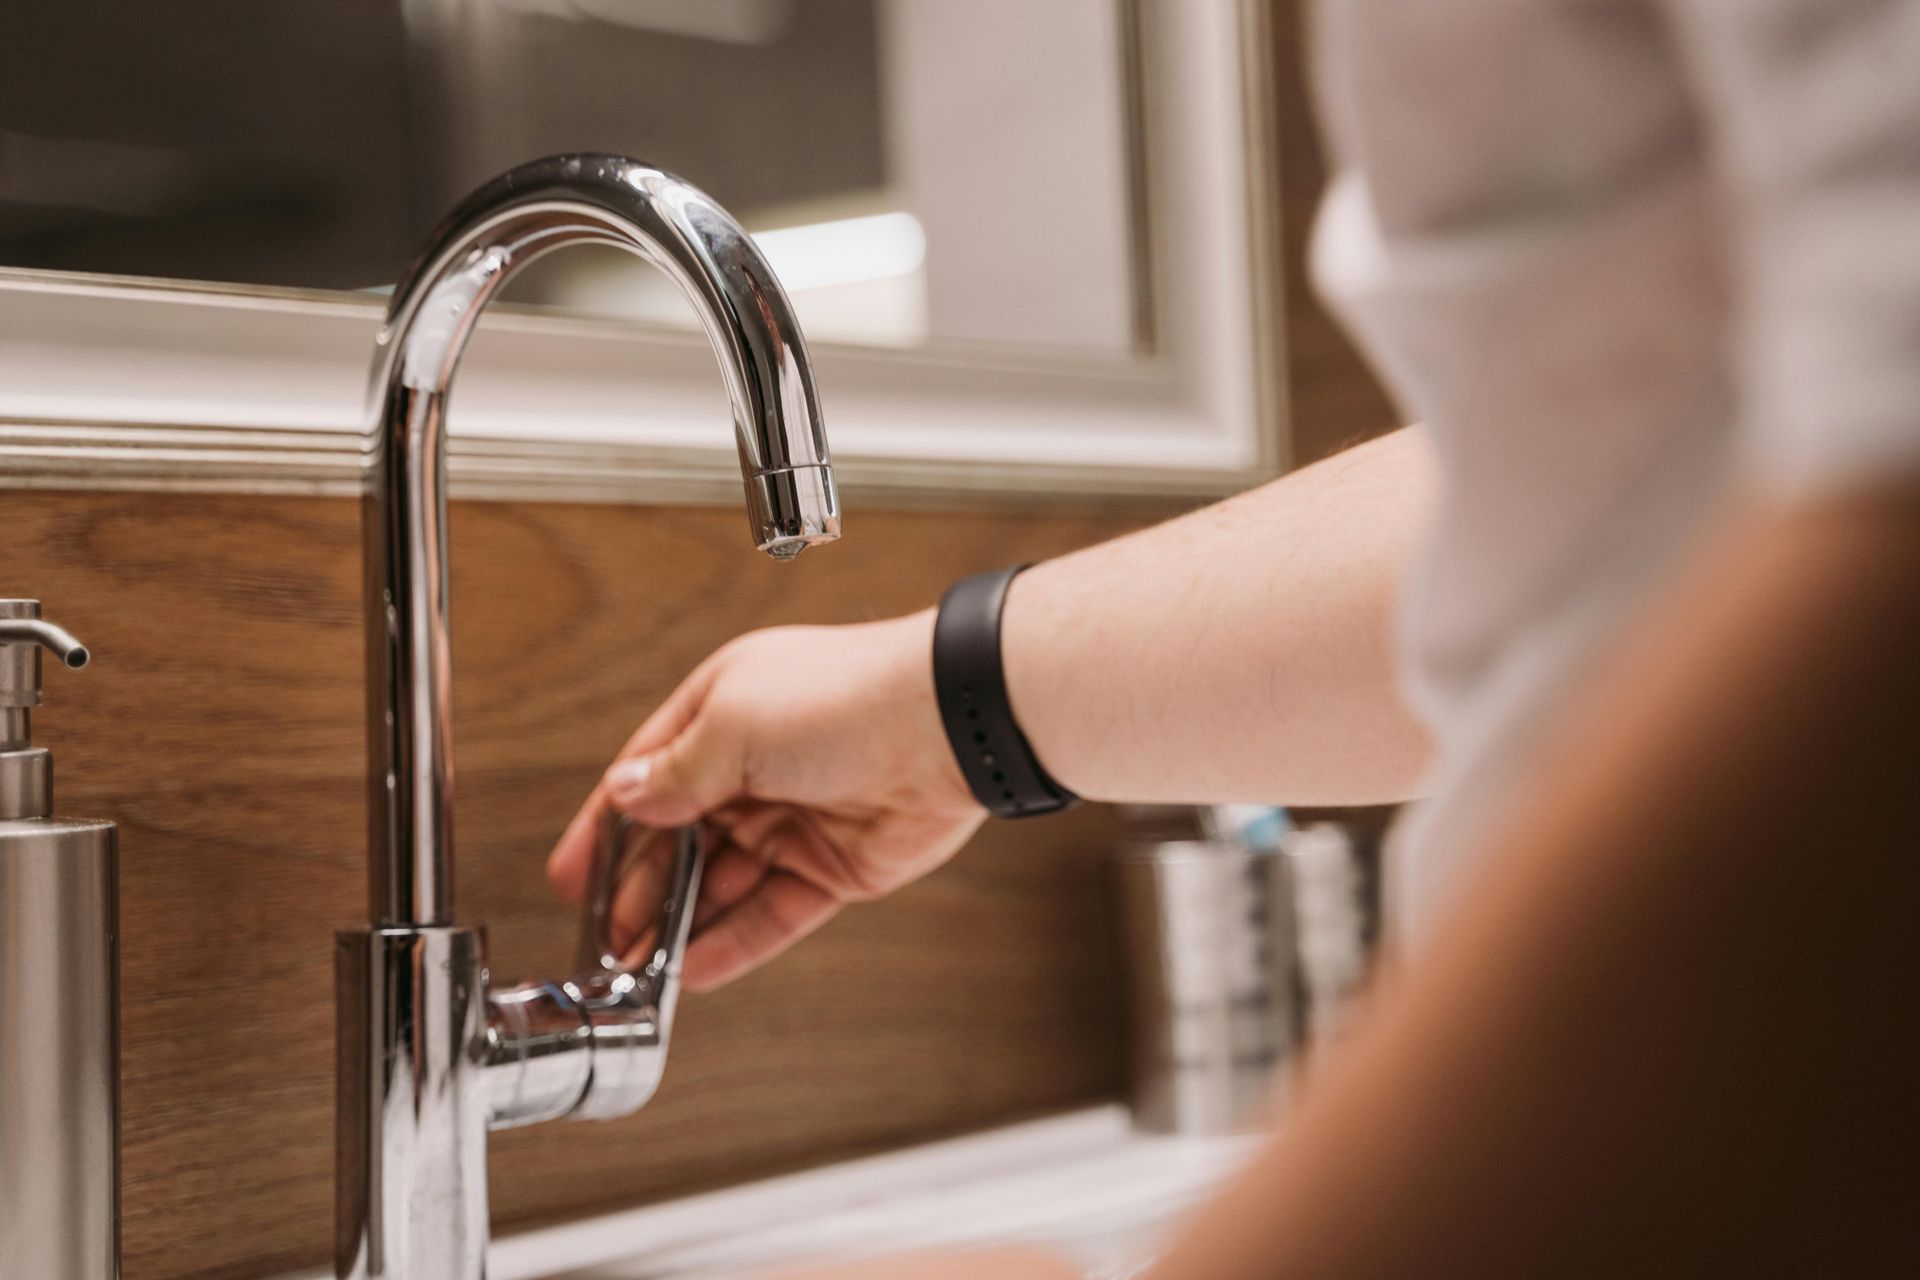
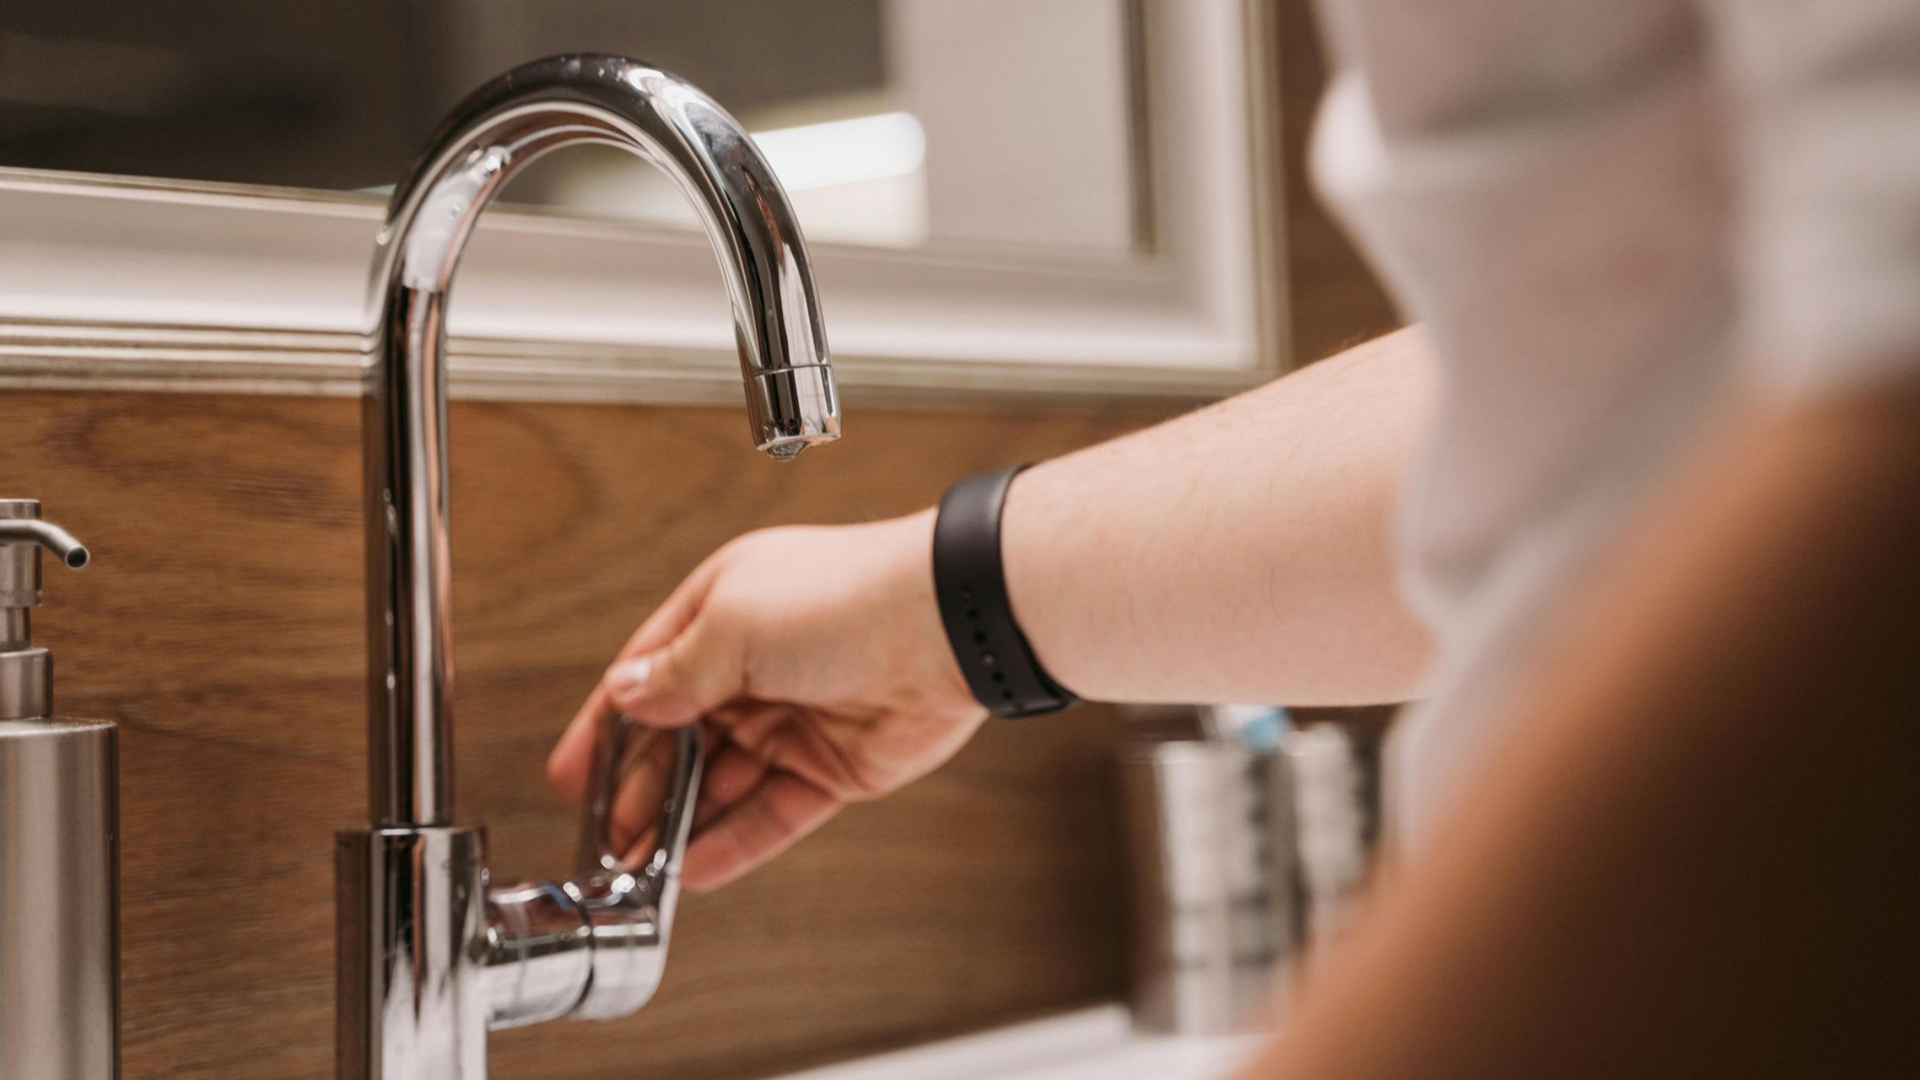
An unexpectedly high water bill can be a shock. While water rates can fluctuate, a sudden spike often points to a different problem: excess water usage. The good news is that you have significant control over how much water your household consumes. By adopting a few mindful habits and making smart upgrades, you can lower your environmental impact and save money. This guide will walk you through practical ways to conserve water at home, from simple behavioral changes to identifying hidden leaks. We will explore how to make your kitchen and bathroom more efficient, how to handle outdoor water use, and what to do when you suspect a bigger problem.
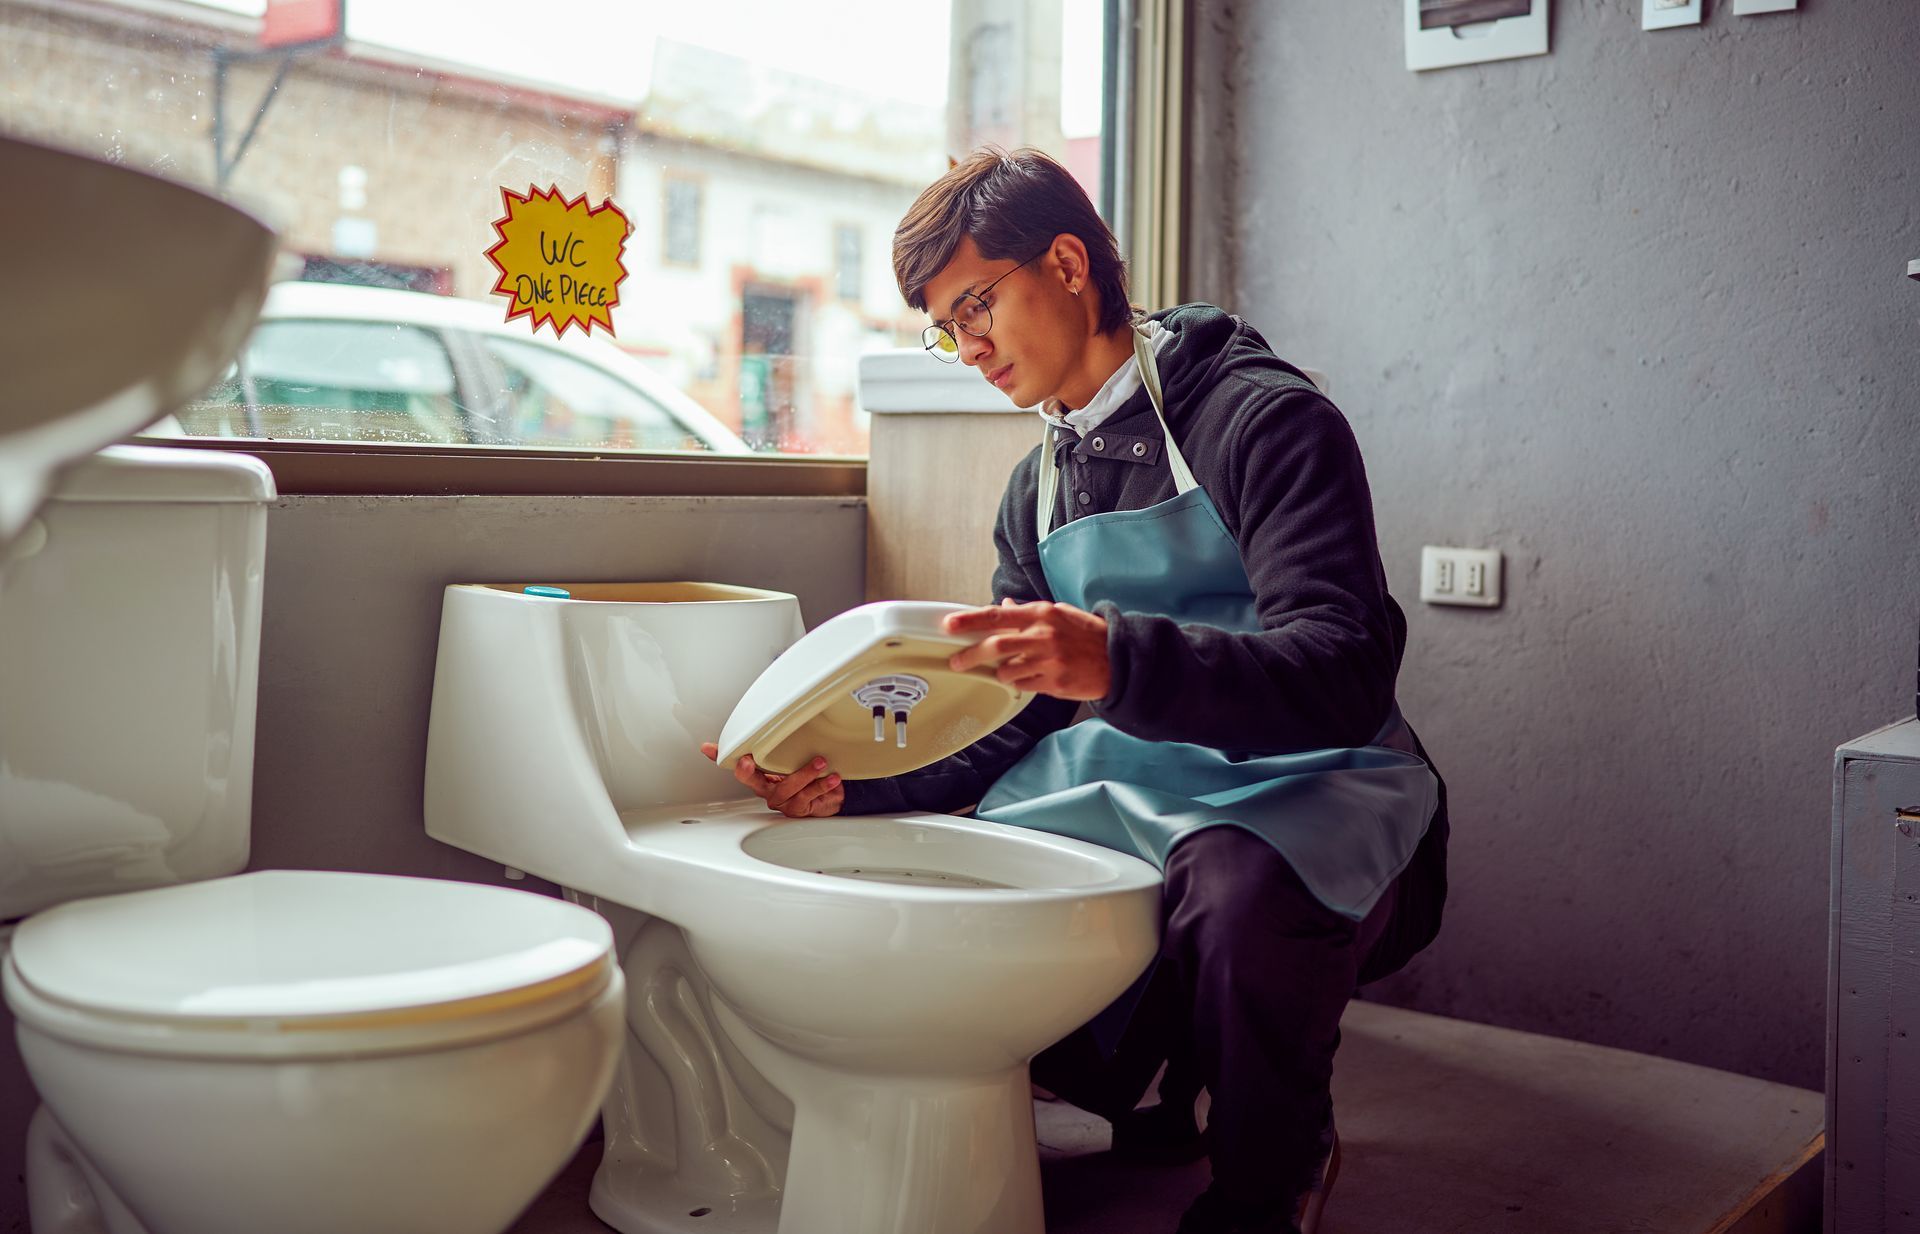
Common Toilet Issues and How to Fix Them

