

EXPERT ADVANCE HERE FOR YOU!
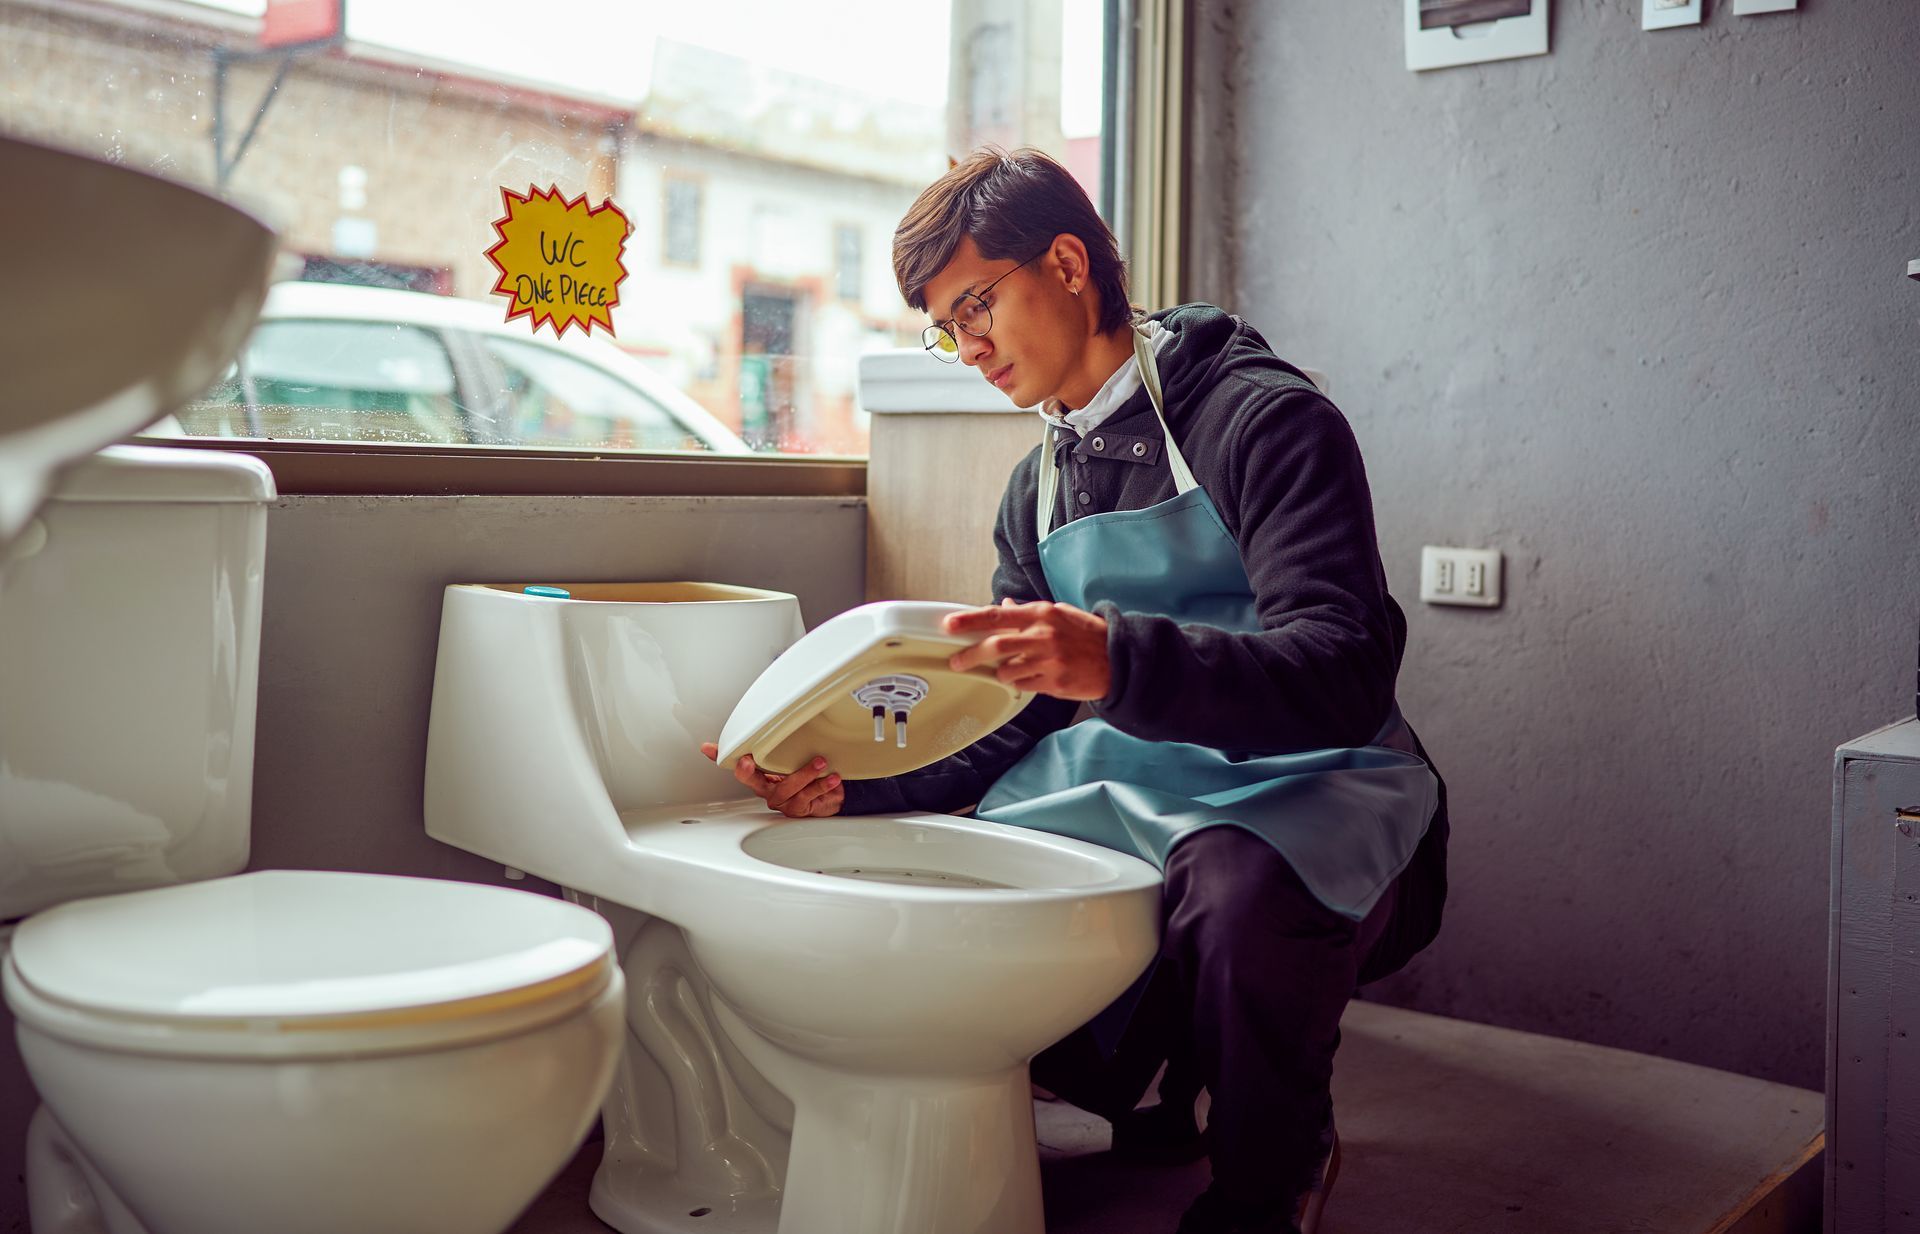
Common Toilet Issues and How to Fix Them
Essential Plumbing Maintenance Tips for Homeowners
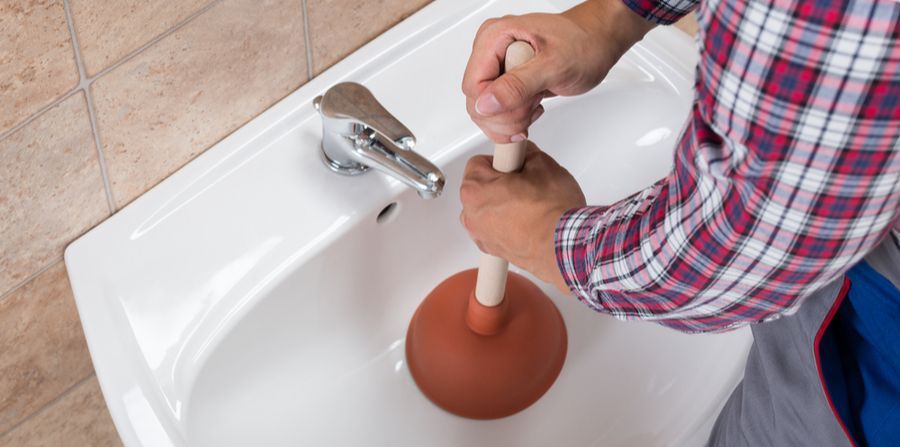
How to Use a Plunger to Clear Clogged Sinks and Toilets

Why Do Faucets Leak?

Low water pressure is more than just an inconvenience—it can be a sign of a deeper plumbing issue. Whether you’re brushing your teeth, running the dishwasher, or trying to enjoy a relaxing shower, reduced water pressure disrupts your daily routines and could point to hidden problems in your home’s plumbing system. But how do you know when it’s time to call a professional plumber? Here’s a detailed guide to help homeowners and plumbers decide the right course of action when the water pressure starts to drop. Common Causes of Low Water Pressure Mineral Build-up in Pipes Over time, mineral deposits from hard water can accumulate inside your plumbing pipes, reducing the flow of water. Areas with hard water are particularly prone to this problem, and once it starts, it tends to worsen if left unaddressed. Leaky Pipes A hidden leak in your plumbing system can drastically reduce water pressure. Not only does this waste water (and increase your bill), but it can also cause significant property damage if not handled quickly. Clogged Fixtures Sometimes, the issue lies in your faucets or showerheads. Dirt, debris, or limescale can clog fixtures, reducing the water flow. While this is often something you can fix yourself, it’s important to rule out more serious causes. Faulty Pressure Regulator If your water pressure is fluctuating or uniformly low, the pressure regulator might be faulty. This part ensures your water pressure remains at a safe, functional level, so any issues with it need immediate attention. Main Water Line Problems Sometimes, low water pressure originates outside your home. Damage to your main water line, aging utility infrastructure, or municipal water supply issues can affect overall pressure. When Should You Call A Rescue Rooter While some causes of low water pressure are simple enough to tackle on your own, others require the expertise of a professional. Here are some scenarios when calling a plumber—like Rescue Rooter in Southern Ontario—is your best bet: 1. You Can’t Find the Source of the Problem If you’ve checked for clogged fixtures, leaks, or a failing pressure regulator and can’t identify the issue, it’s time to call in the pros. A professional plumber has the tools and experience to diagnose the root cause quickly. 2. You Suspect a Hidden Leak Water leaks aren’t always obvious; they may occur behind walls, under floors, or in your outdoor plumbing. If your water pressure is dropping and you notice damp patches, unexplained water bills, or musty odors, a plumber should investigate immediately. 3. The Entire Home is Affected If the water pressure is low throughout the house (not just in one or two fixtures), this could be a sign of a larger issue, such as a damaged main water line or a problem with your pressure regulator. 4. There’s a Sudden and Significant Drop A sudden drop in water pressure can indicate a burst pipe or other significant damage. This requires immediate attention to prevent further harm to your home. 5. DIY Fixes Aren’t Working Tried cleaning the faucet or replacing parts but still facing low water pressure? Don’t waste time—call a plumber who can address the underlying problem effectively. Why Choose A Rescue Rooter in Southern Ontario? If you’re a homeowner in Southern Ontario dealing with low water pressure, Rescue Rooter is your go-to solution. Our experienced team specializes in tackling a variety of plumbing problems, ensuring your home’s water pressure returns to peak performance quickly. Here’s what sets us apart: Expert Diagnosis – We use state-of-the-art tools to pinpoint the exact cause of your low water pressure. Quick & Reliable Service – Enjoy responsive and professional solutions tailored to your needs. Local Expertise – Based in Southern Ontario, we understand the specific challenges homeowners in the area face. Customer Satisfaction – We pride ourselves on transparency, fair pricing, and exceptional service. Don’t Wait—Act Now! Ignoring low water pressure can lead to bigger, costlier repairs down the line. If your attempts to fix the issue haven’t worked or you suspect a more serious problem, it’s time to consult a professional. Contact Rescue Rooter in Southern Ontario at 905-521-824 today and restore your home’s water pressure back to normal.
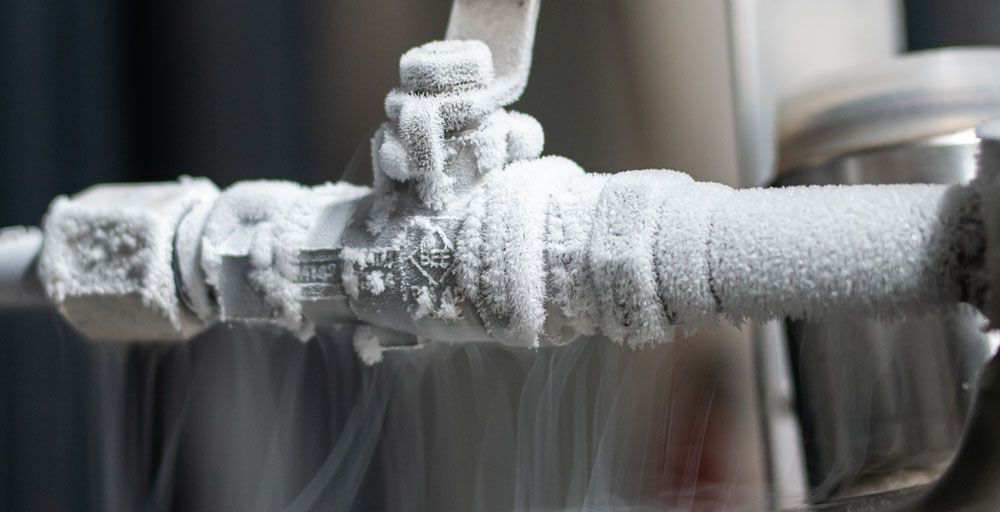
How to deal with frozen pipes
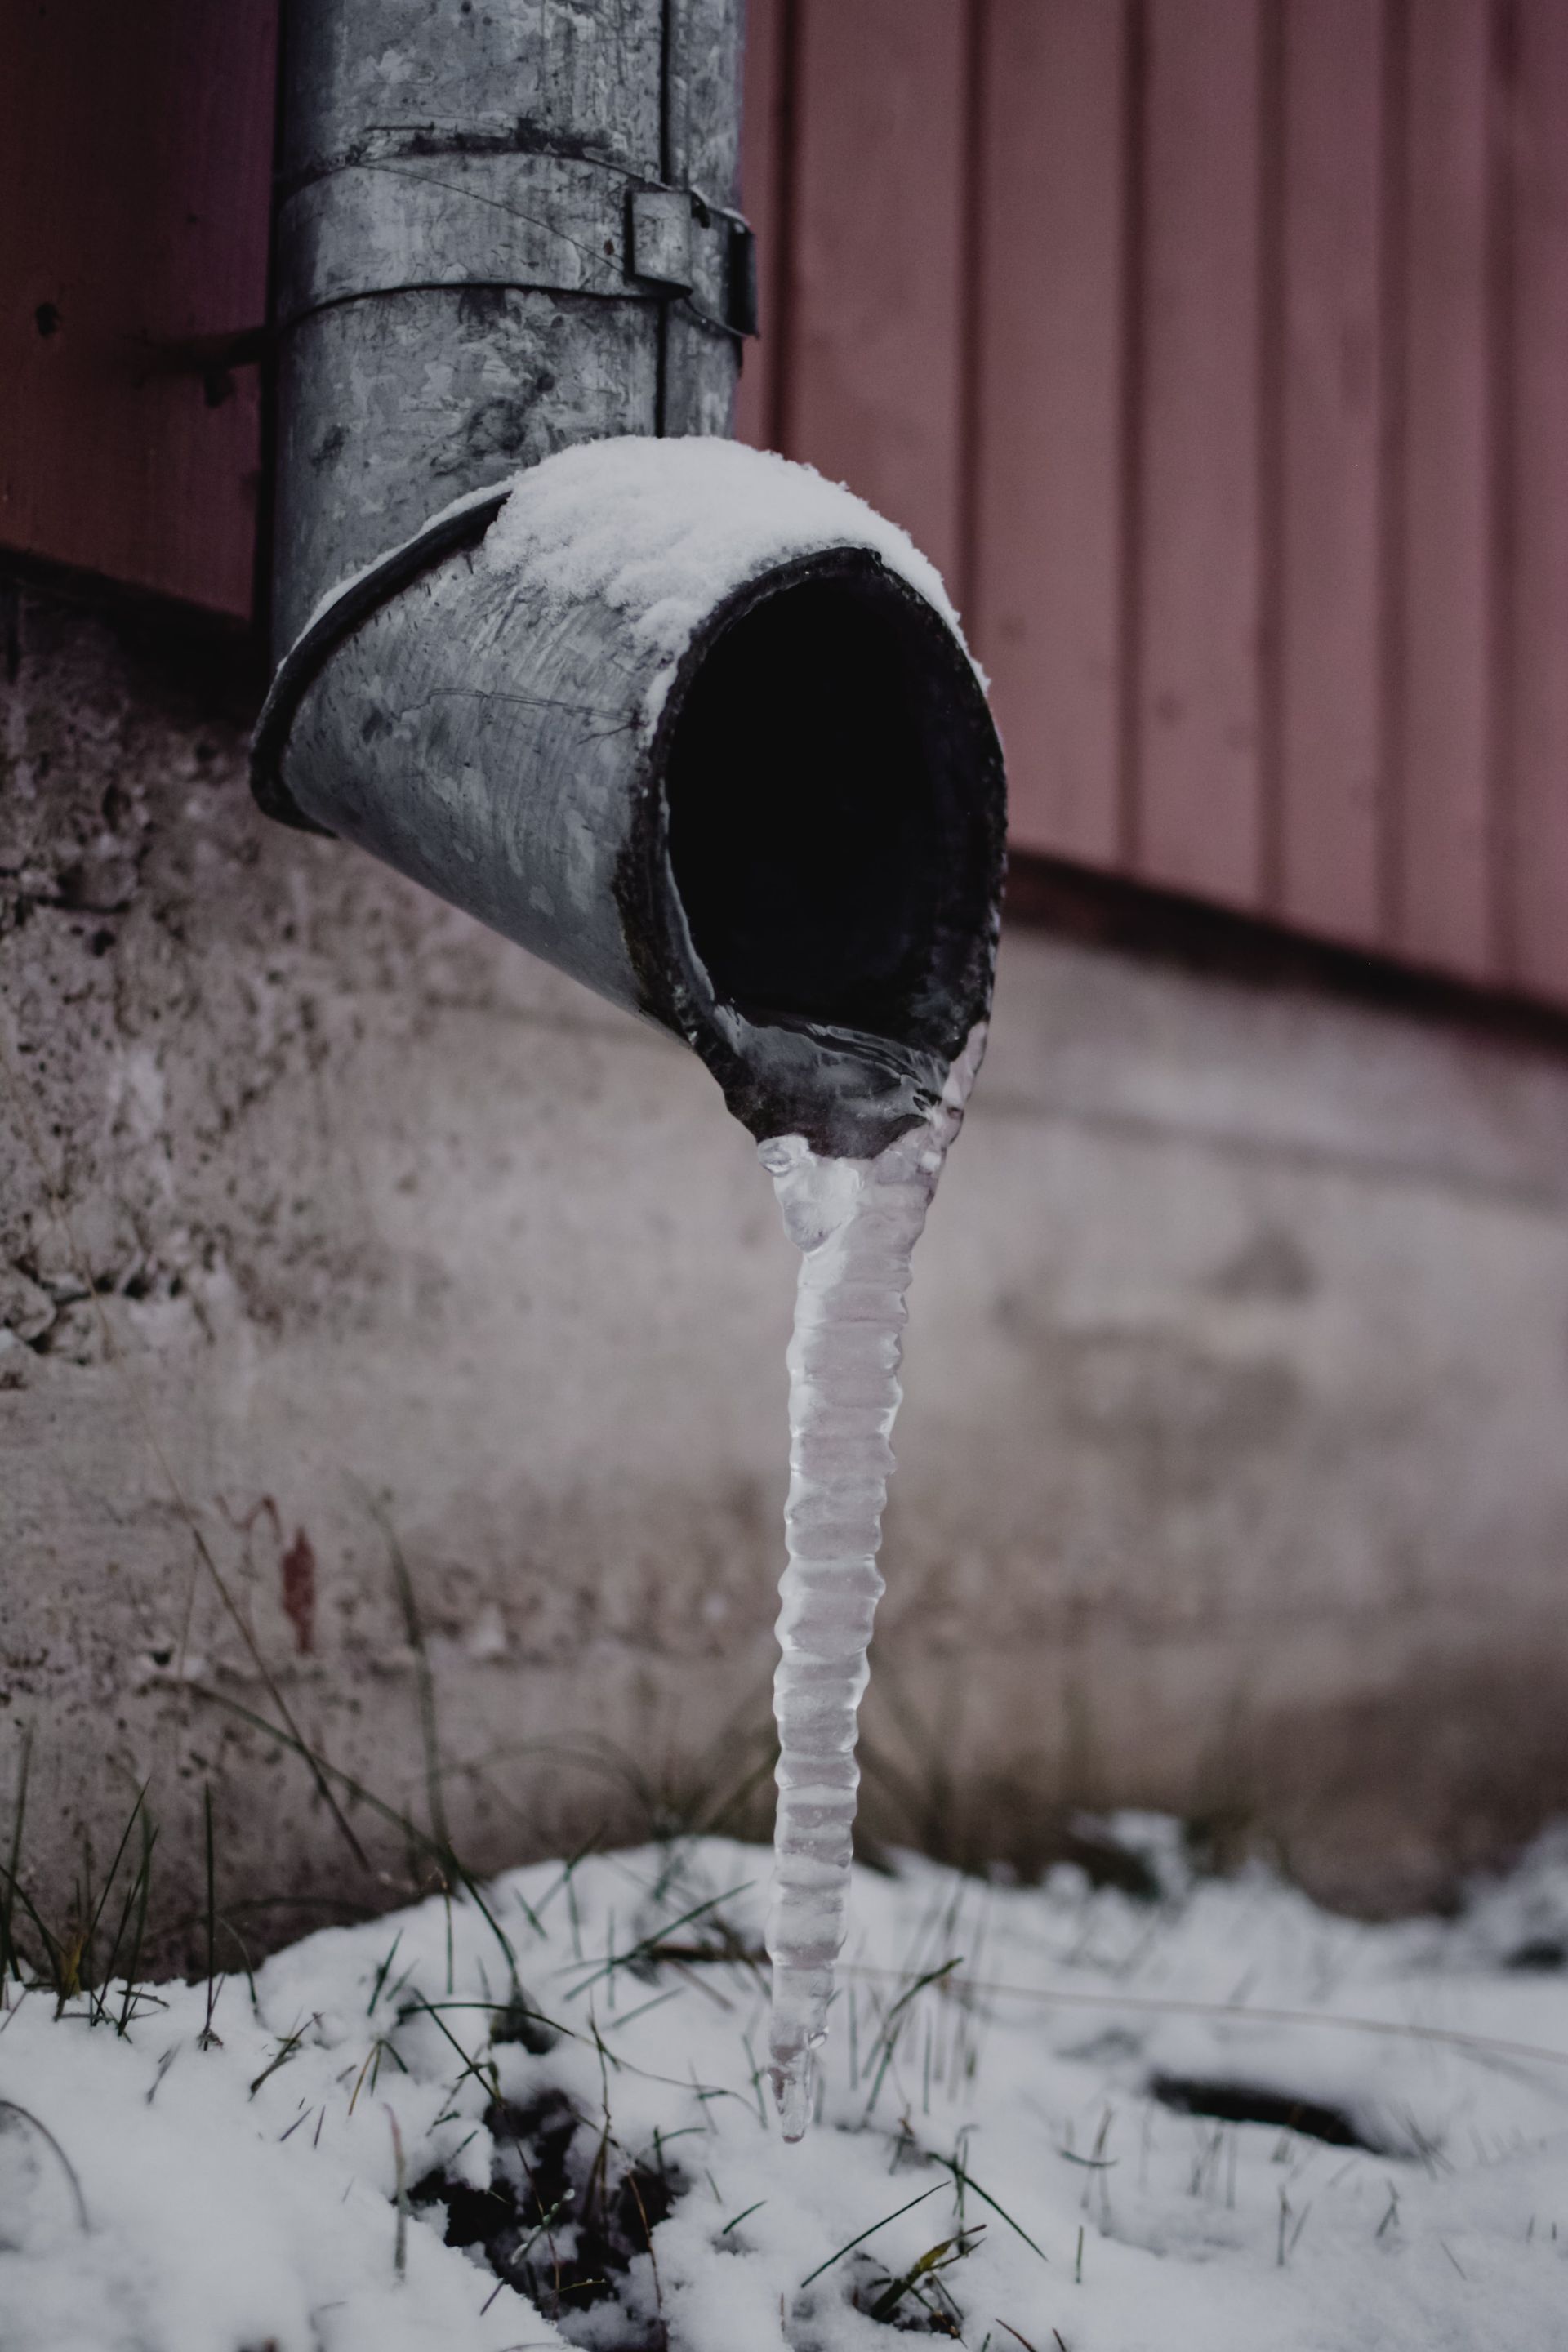
Winter Plumbing Problems
As your home ages, so does its plumbing system. Over time, wear and tear can lead to a range of problems that, if left unchecked, may cause costly damage. Whether you're a homeowner, a DIY enthusiast, or a property manager, understanding these common issues can help you save money and keep your property in tip-top shape.
Here’s a rundown of the most common plumbing issues faced by older homes and how to address them.
When it comes to your home, the health of your drainage system is often overlooked—until there's a problem. Routine drain maintenance is essential to keep everything flowing smoothly and prevent costly repairs. Ignoring early signs of trouble can lead to clogs, slow drains, and even pipe damage. Your drains work hard every day, but even with the best care, grime buildup or hidden blockages can sneak in over time. If you've noticed issues with your drains, you might need a professional Hamilton plumber to clean things up and get them back in top shape. Here are ten tell-tale signs you shouldn't ignore.

If you’ve experienced a plumbing issue before, you know it's no small inconvenience. Whether it’s a minor clog or a major backup, sewer problems can disrupt your daily life, damage your property, and even harm your health. One way to prevent these issues is through regular sewer cleaning and maintenance. In this blog, we'll explore why keeping your sewers clean is so important, and offer some tips on how to maintain them effectively.

